The admin settings subsection is for inputting general information related to your platform.

General Settings
Site Name: The name which appears on the homepage
Site Title: The name which appears on the browser tab
Site URL: The URL or the web address of the website
Admin URL: The URL or the web address of the Admin panel
Merchant URL: The URL or the web address of the Merchant panel
Desktop Website Logo: Upload the logo which appears on the homepage of the website. The 'Browse' option can be used to access the image and that image can be previewed in the 'Preview' section.
Mobile Website Logo: Upload the logo which appears on the opening screen of the mobile application. The 'Browse' option can be used to access the image and that image can be previewed in the 'Preview' section.
Home Banner: The banner which will be used in the background of the homepage. The 'Browse' option can be used to access the image and that image can be previewed in the 'Preview' section.

The Google api key, in simpler terms is a personal code that Google provides you to access Google maps on your website so check this box to enable Google search. And provide the geocoding API key, for web, android and iOS. Now this key is for using the maps, it's a unique identifier for authentication of requests related to billing and usage on your site. Next is zoho api keys. Well, zoho is a user friendly CRM app for running online business in a smooth manner. These features help you manage business sales like a pro, so input keys in the respective fields. First one is zoho widget key (this will enable live chat on the site), you will get it upon sign up on zoho.com. Similarly enter the Zoho sales access key and sales app key for android app and iOS app in these fields respectively. Next comes the Push notifications key means you can enable push notifications in your website, this is useful to keep users updated about latest offers, real time food delivery order status, and with other personalized stuff. It's an effective method to convey a message without actually irritating the customers. So enter the push notifications key in this field, you will get it upon sign up on zoho.

Firebase for order management here you have to enter detail to enable real time order management with firebase. You will get these details by signing up on firebase. So enter the Project ID, private key ID, json file. Now based on your preference choose whether you want distance to be calculated as straight line, or driving or transit. Under google re-captcha settings the site n secret key is to be entered and using them you will be able enable captcha on your site. Receipt option is to input default messages for email subject, that need to be sent to the customer upon successful order placement. Enable logo on receipt and browse logo to be placed using the browse button. The preview is available here's, if you don't find it appealing, simply remove it.
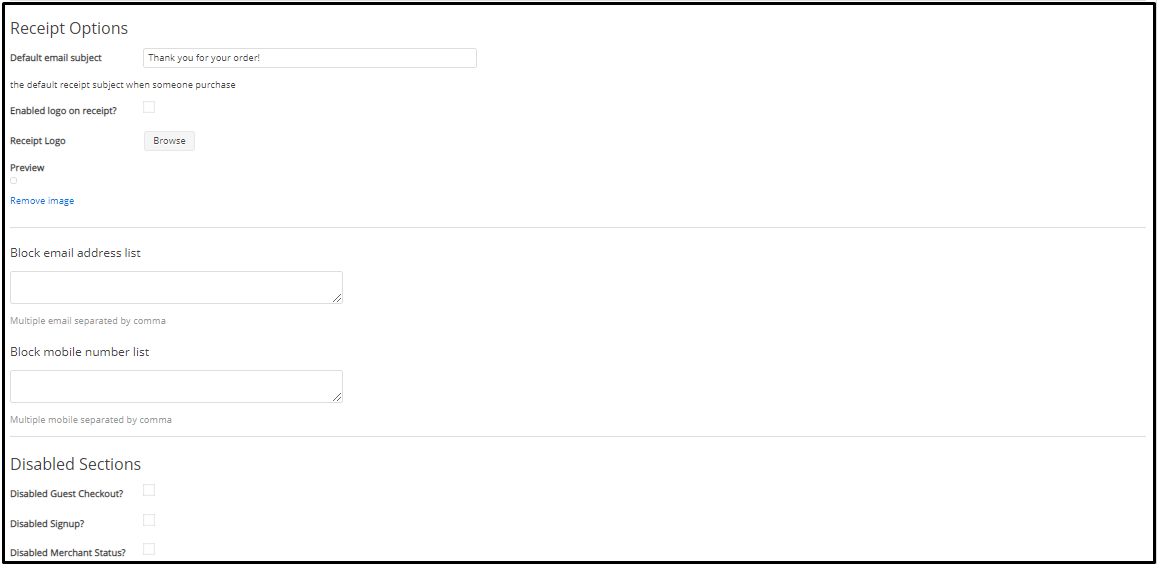
Next is block email address list. Here you will be able to block all those emails from whom you don't want to see a message in future , if it's more than one then simply separate them by comma and mention all of them one by one. In a similar fashion you can enter all mobile numbers here that you want to block. Enable the guest checkout option by checking the respective option if you want to ease food ordering for new customers. Set an appropriate time-zone using the options over here. Next comes the option to choose via which mode you would like to share OTP with customers. You can choose between E-mail, SMS, E-mail and SMS.
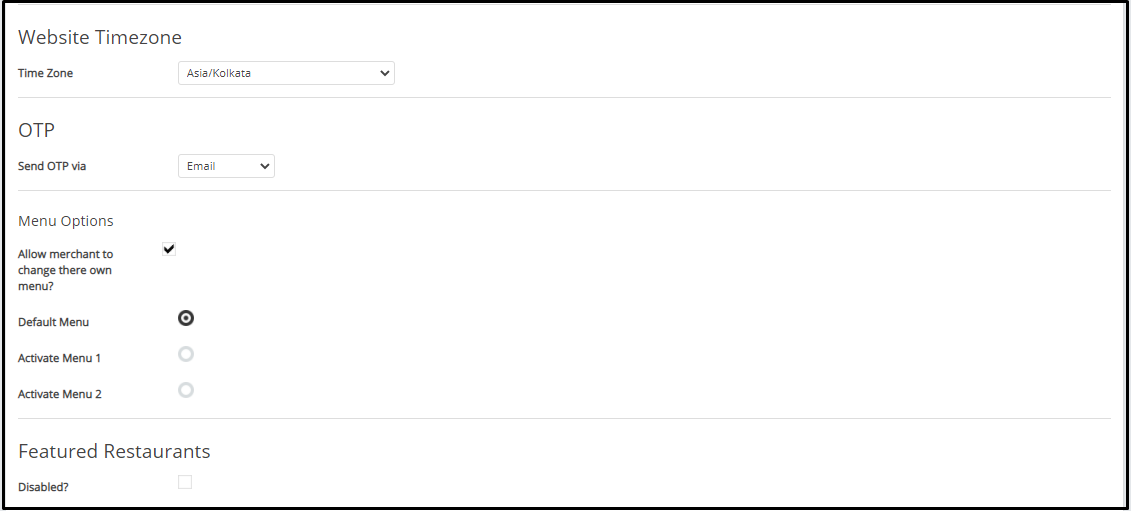

Using the menu option you can allow merchants to choose between 4 view options for the menu. Check this box to enable the featured restaurants on your platform. Under the address and currency option, input details like country, address, phone no, email address and email address from which you want to send email from the platform’s end. Next currency related information is required like its code, the position, how many decimal places to be there, Separators to be used in digit, and mobile no. Validation is to validate whether the contact number entered is correct or not.

Cron. - This is used for ensuring checks on database and payment gateway, Hence your database and payment gateways remain technically sound.
Home search area. Here you can set the marker for the map. Click on the browse to upload its image of dimension 32*32 or 64*64 pixels. The preview will help you decide if it is good enough else remove it with the remove image option.
Under ‘Set Google Default Country On’, if you check this box means the countries set for your website will be displayed in the map.
Search within radius - here you decide the radius in kilometers or miles and check this option sort result by distance, now based on this restaurant will be shown to customers for food delivery with the nearest one first.
In order to enable order tracking and order scheduling, do a check against respective options here.
Click on ‘Save’ after making necessary changes.
