Clicking on ‘All Merchants’ will redirect you to the entire list of merchants with several details and access points saved under columns named ‘Merchant ID’, ‘Merchant Name’, ‘Address’, ‘Contact’, ‘Charges Type’, ‘Auto Login’ and ‘Action’.
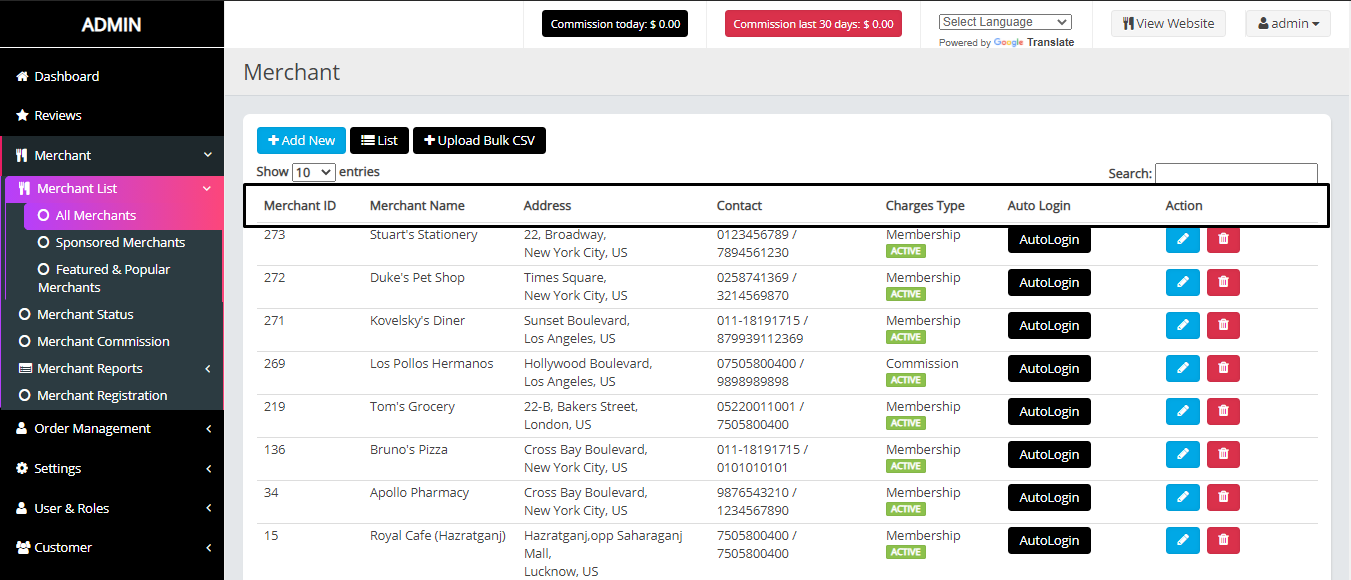
Right above these are ‘+Add New’, ‘+Upload Bulk CSV’, and ‘List’
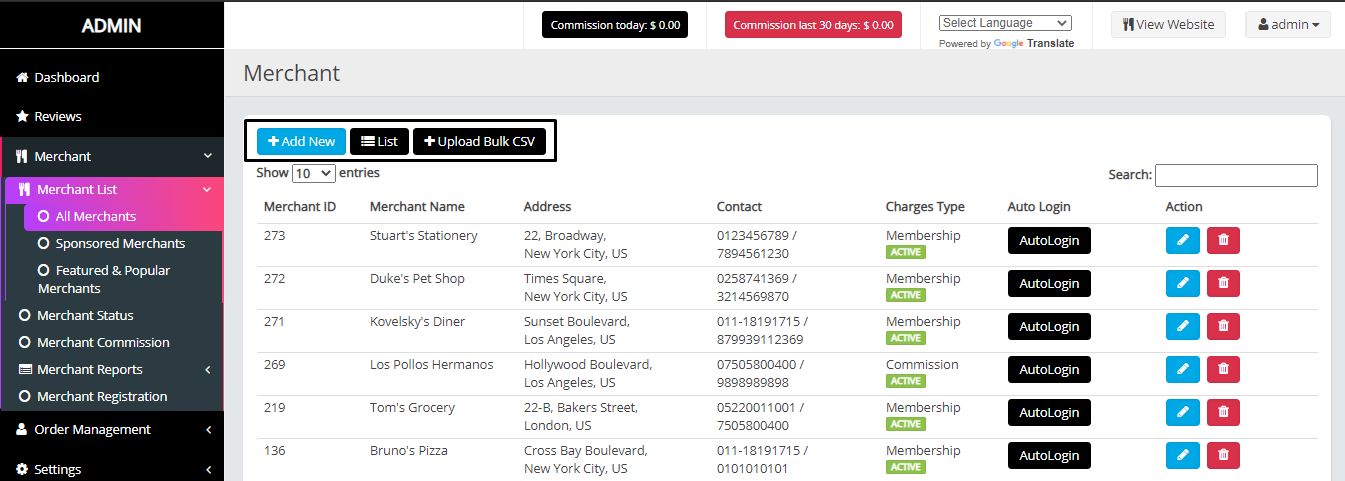
The ‘+Add New’ button opens up a page to add a new merchant. This page consists of various tabs like ‘Restaurant Information’, ‘Login Information’, ‘Commission Settings’, ‘Google Map’ and ‘Billing’.
Adding a New Merchant

Under the “Restaurant Information” tab, input the required details.
“Restaurant Slug” : restaurant's name which appears in the last part of the url. In this field, the restaurant's name should be entered where each word is separated by a hyphen.
“Restaurant name” : The merchant's name.
“Restaurant phone” : Contact number of restaurant
"Contact name" : name of the contact person from merchant's side
"Contact phone" : contact number of the merchant
"Contact email" : merchant’s primary email
"Country" : country in which the merchant is located
"Street address" : Exact address of the merchant.
"City" : City in which the merchant is operational
"Postal code/Zip code" : Postal code of the merchant
"State/Region" : The state in which the merchant is located
"Merchant Type" : Here, there are two options to choose from. Pick 'Restaurant' if the merchant deals in preparation and delivery of food items. If the merchant is a store selling grocery products, choose merchant type as 'Grocery'
"Cuisine" : From the drop down list available, choose the kind of products or the cuisines of the food being sold by the restaurant.
"Pick Up or Delivery?" : 'Pick up Only' is for merchants from where customers can place their orders and pick the order themselves. 'Delivery Only' is for merchants from where customers can place their orders and the order will be delivered to the customer using your delivery service. 'Delivery & Pickup' is for merchants which have both the above mentioned features.
"Cashfree Agreement" : This option is used in cases where the merchant is paid on a weekly or monthly basis i.e. a delivery executive will not have to pay cash for an order when he picks up an order from that merchant.
"Published Merchant" : This option needs to be checked if the merchant has to be displayed on the website/application.
"Status" : This is the present stage at which the merchant exists. 'Pending for approval' is for merchants who have been added but not yet been made live. 'Active' is for merchants which are live on the website/application. 'Suspended' is for merchants with whom the tie-up/agreement has been revoked for a suitable reason. 'Blocked' is for merchants who will no longer be active on the panel. 'Expired' is for merchants which were created for some particular season or occasion and are closed as soon as that season or occasion is over.
After filling all these details, click on "Save"
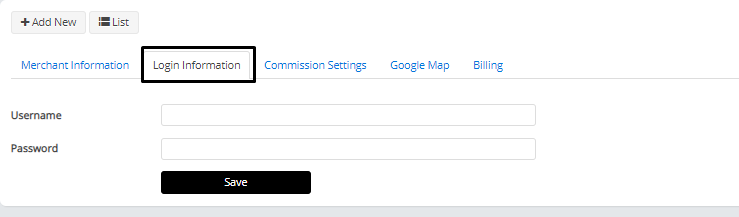
Next is the “Login Information” tab. It has only two options namely ‘Username’ and ‘Password’. This tab is used to create login credentials for the merchant.
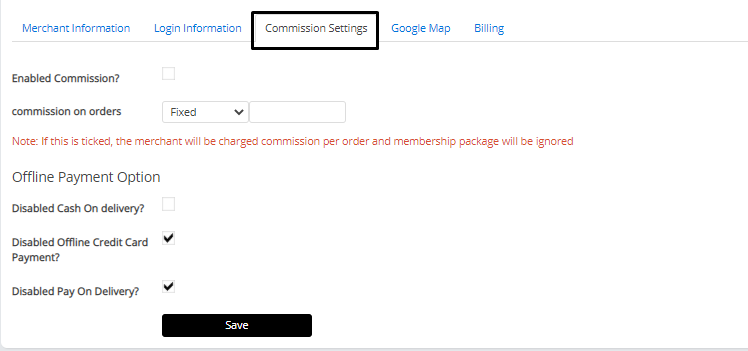
On the next tab, which is “Commission Settings”, the commission agreement with the merchant can be set up.
First, enable it by checking the ‘Enabled Commission?’ option at the top.
Now based on which mode you prefer to take commission , choose fixed or percentage from the drop down menu and specify the value in the adjacent field.
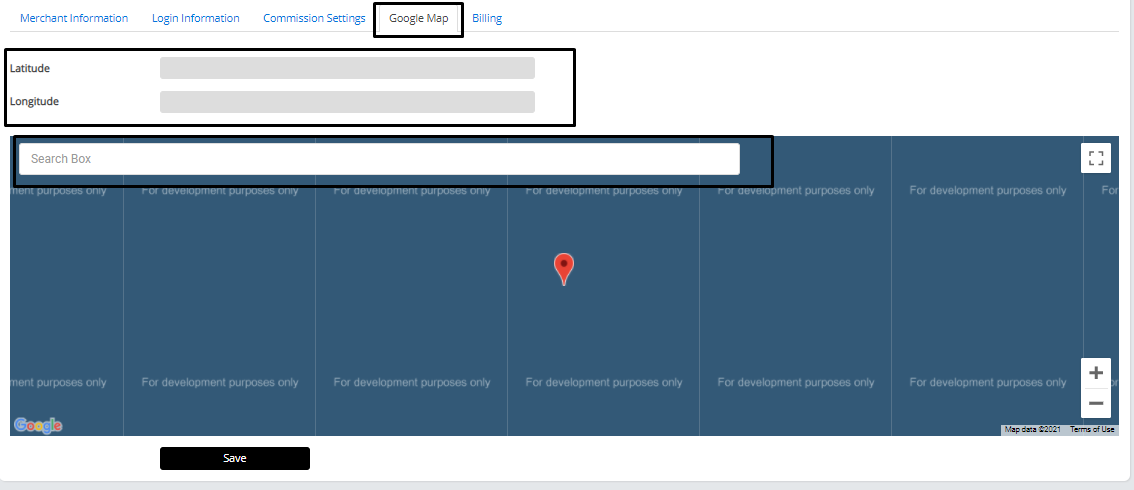
“Google Map” tab is used to enter the exact location of the merchant down to the exact latitude and longitude. In this tab, enter the location of the merchant in the search box and then the red pointer on the map can be moved to pin-point the exact location of the merchant. Based on that exact location, the latitude and longitude are automatically entered.
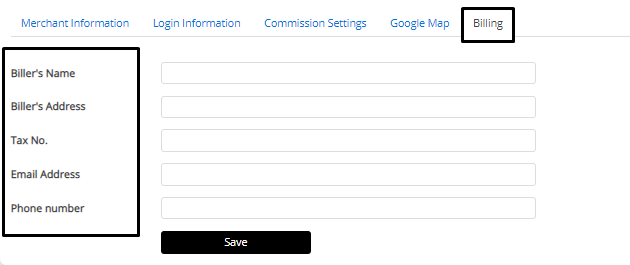
The last tab is the “Billing” tab. This is used to enter the billing details of the merchant.
"Biller's Name" : The name given by a merchant which will be used for billing purposes.
"Biller's Address" : The registered address given by the merchant used for billing purposes.
"Tax No." : The registered tax document number.
"Email Address" : The email address registered for billing and tax purposes.
"Phone number" : The phone number corresponding to billing details.
Click on “Save”.
This completes the process of adding a new merchant on the platform.
Back on the “All Merchants” panel, there is an “Upload Bulk CSV” button right next to the “+Add New” button.
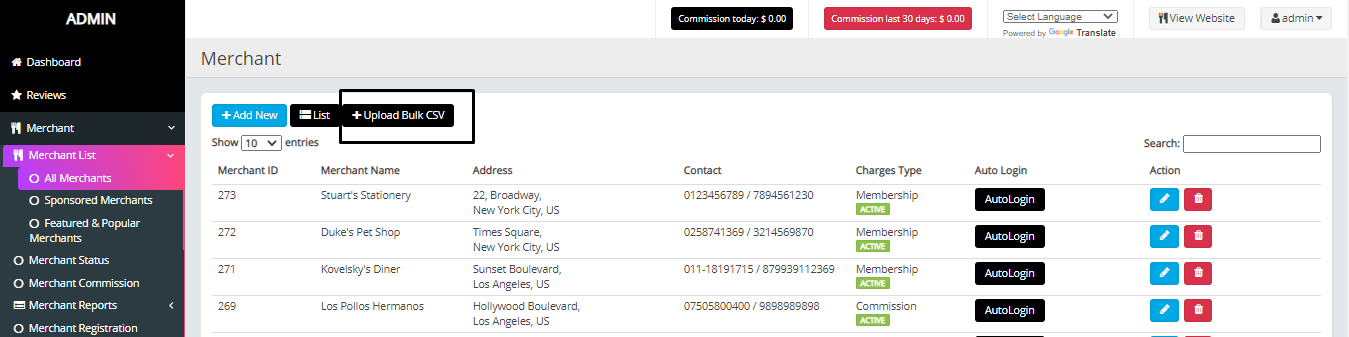
Clicking on it will allow you to upload a .csv file (it's an excel sheet in a fixed format with all data related to different merchants). If you already have an excel sheet enlisting your merchants, you can edit that sheet according to the set format and upload that instead of adding each merchant individually on the platform thus saving time.
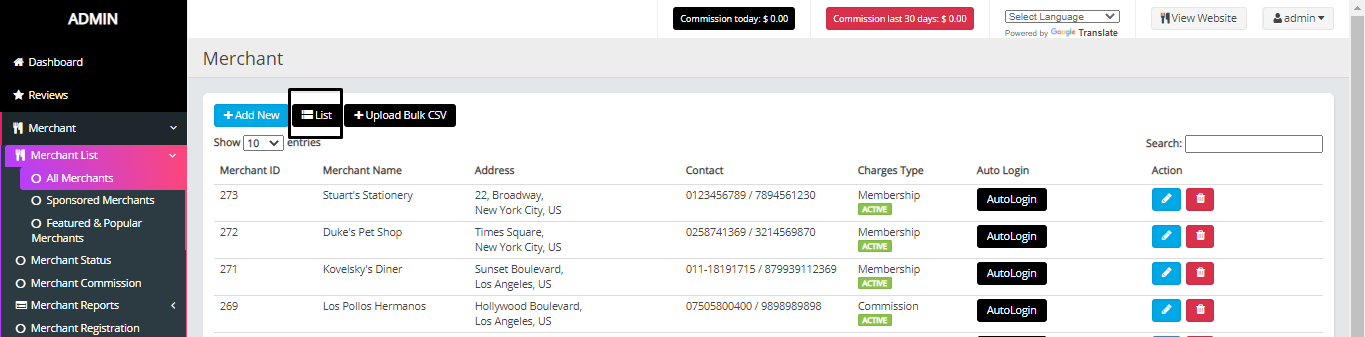
Next to “Upload Bulk CSV” is the “List” button, which upon being clicked will display all the merchants with all details as shown here.
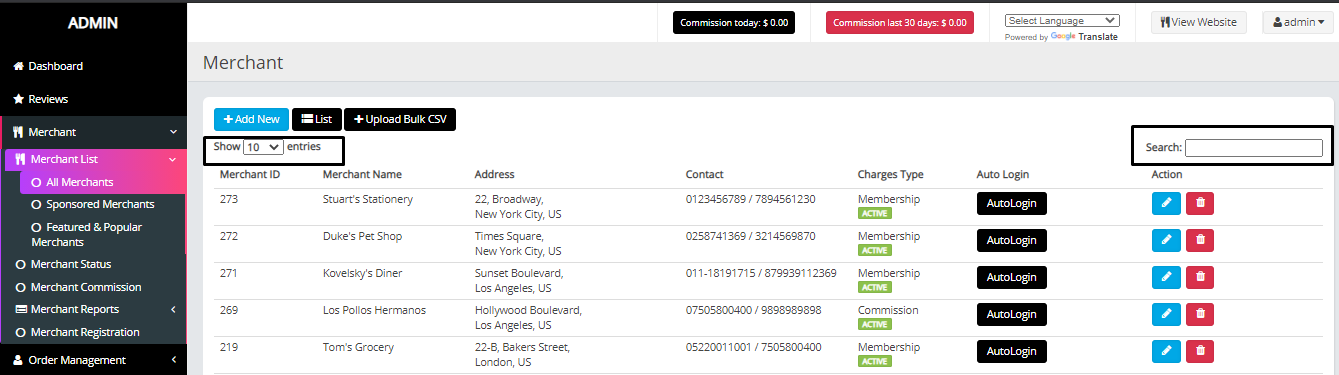
Another option is the “Show entries" drop down menu, based on how many merchants you want to list, choose a value and that many merchant entries will show up on the page. Also, there is the in-built search button, a very useful option to help you find a particular merchant.
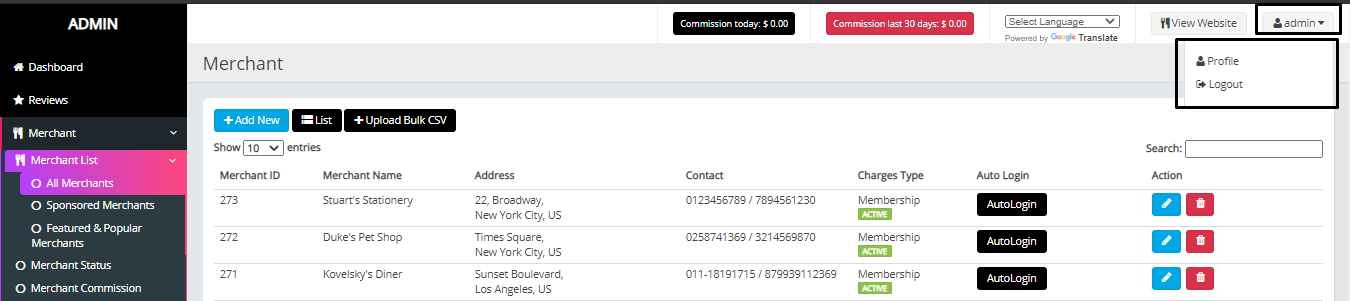
Here you see this profile option under the admin dropdown.

Click on it and you get redirected to a profile settings page. You can update different details of the merchant like first name, last name, email address, language, and the password. Then click on the save button and these details get updated.
